Local AI models with OpenWebUI and Ollama
Step-by-step guide

Artificial intelligence is no longer just a trend - it is fundamentally changing the way we work, communicate and make decisions. But while AI is becoming increasingly powerful, one key challenge remains: how can we use this technology sensibly without becoming dependent on cloud services or running data protection risks?
This is exactly where we came in. We wanted a solution that was not only flexible and powerful, but also gave us full control over our data and processes. With OpenWebUI and Ollama, we found exactly that. This combination allows us to run AI models locally without having to rely on external providers - quickly, securely and without hidden costs.
In our in-house AI domain, we have a clear mission: to integrate AI into our internal processes and customer projects in a meaningful way - efficiently, in compliance with data protection regulations and with real added value. We test new tools, evaluate their benefits and ensure that our AI strategy remains sustainable and scalable. It's not just about technology, but about how AI actually supports us - be it through automation, smarter workflows or innovative solutions for our customers.
Our goal is to use AI in such a way that it makes us more independent, faster and better. OpenWebUI and Ollama are a big step in this direction for us. And because we are convinced of this setup, we want to share our experiences. Because powerful AI doesn't have to be in the cloud - it can run directly on site, on your own hardware, with full control.
It's time to use AI according to our own ideas and not according to the specifications of the big providers.
In this blog post, I'll show you step by step how you can set up your own local AI system and what advantages this brings.
Why a local setup?
Most AI models today run on cloud services such as OpenAI, Google Cloud or Microsoft Azure. These services offer immense computing power and simple integration, but also have disadvantages:
- Data security: sensitive data is transmitted over the internet and potentially stored on third-party servers. This contradicts the requirements of eggs, where data protection is a top priority.
- Costs: Cloud services can be very expensive, especially with high data volumes or intensive use.
- Availability: You are dependent on the reliability of external providers. Server failures can bring projects to a standstill.
- Speed: Communication with remote servers can lead to delays, which are particularly problematic for real-time applications.
A local setup, like the one presented here, solves all these problems. It meets the goals of eggs' AI domain to provide innovative and secure AI solutions that are both privacy-compliant and resource-efficient. It offers:
-
Full control: Data remains local and is not stored externally.
-
Cost efficiency: Paid AI services quickly become expensive.
-
Speed and flexibility: Fast processing without dependence on third parties.
Requirements for your local AI setup
Hardware
Before you start, check whether your computer fulfils the following minimum requirements:
- Apple Silicon or Nvidia GPU for maximum performance.
- RAM:
8 GB: Sufficient for smaller models
16 GB: Recommended for smooth processing of 13B models
32 GB: Optimal for larger models such as 33B
Pro tip: With 16 GB RAM, you can switch flexibly between smaller and medium-sized models without compromise.
Software
-
Set up a clean, isolated environment
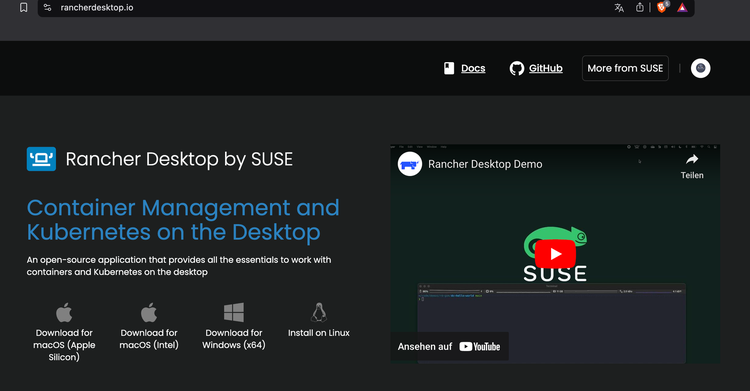
Download Rancher Desktop - everything you need in an all-in-one solution.
-
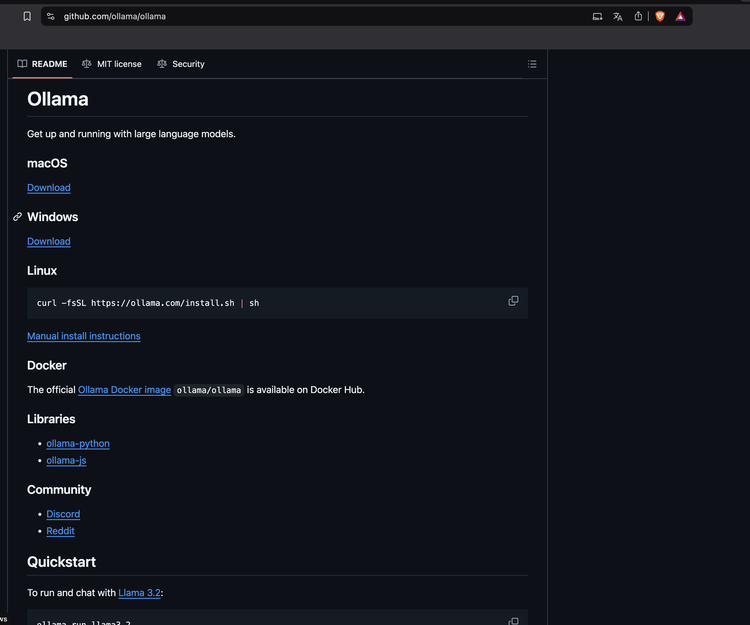
Install Ollama: Download Ollama on GitHub for use with Llama 3.3, Mistral, Gemma 2 and other major language models.
-
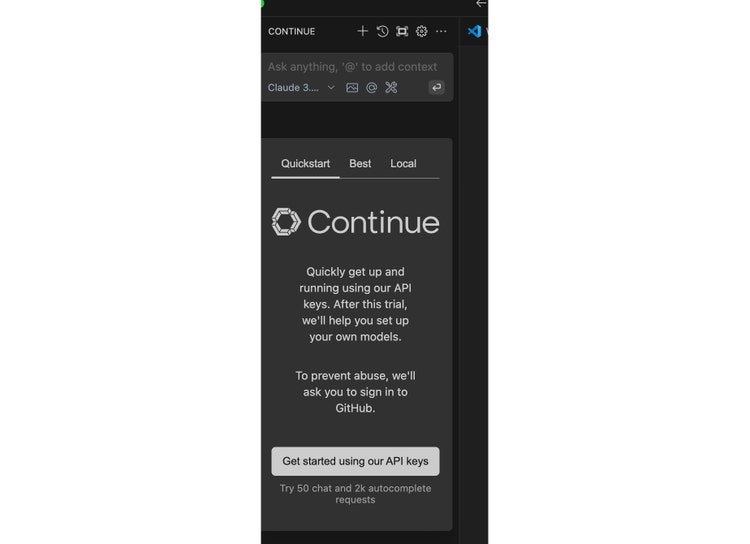
Optional: Use Continue to extend your development environment.
Step-by-step guide: Setting up OpenWebUI and Ollama
1. Set up a clean, isolated environment
Download Rancher Desktop – everything you need in an all-in-one solution.
Select and install the appropriate operating system.
2. Install Ollama
Download Ollama and install it on your computer. This step forms the basis for the entire setup.
Download Ollama on GitHub for use with Llama 3.3, Mistral, Gemma 2 and other major language models.
On the Github repository, navigate down to the appropriate versions for the operating system and install.
3. Create folder structure and Docker Compose file
Create a new folder on your computer in which all configuration files are saved. In this folder, create a new file called compose.yml. Copy the following text into the file:
webui:
image: ghcr.io/open-webui/open-webui:main
volumes:
- open-webui:/app/backend/data
ports:
- 3000:8080
environment:
- WEBUI_AUTH=false
- SAFE_MODE=true
- ENABLE_COMMUNITY_SHARING=false
- OLLAMA_BASE_URL=http://host.docker.internal:11434
restart: unless-stopped
volumes:
open-webui: {}
4. Start Docker Compose
Open a terminal, navigate to the folder with the compose.yml and start the service with:
5. Go to OpenWebUI
Open your browser and go to http://localhost:3000. Voilà! You now have access to your own local OpenWebUI interface.
Add and use models
Install model
Check whether the model is available. The source (e.g. ‘Obtain from Ollama’) is displayed. Make sure you have an active internet connection to download the model.
Model selection:
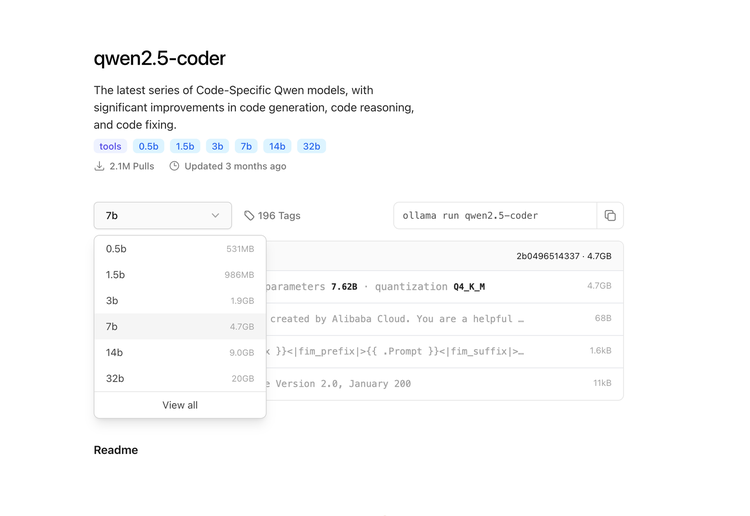
Search for the desired model in the user interface. Here I explain again what is important here. If you look at the different versions of Qwen2.5, you will immediately notice that the models vary greatly in size - from a compact 398 MB to an impressive 47 GB. But what's behind it all, and why are the differences so big?
Size vs. performance
The size of a model is directly related to the number of its parameters. Parameters are the building blocks that a model uses to understand and generate language, context and meaning. A model with 0.5B (500 million) parameters is smaller and faster, but less powerful. On the other hand, a model with 72B (72 billion) parameters offers significantly more precision and contextual understanding - but at the cost of memory and computing power.
What does this mean for you?
The choice of model depends on your use case:
- Smaller models (0.5B - 3B): Ideal for simple tasks or devices with limited resources.
- Medium-sized models (7B - 14B): A good compromise between performance and hardware requirements.
- Large models (32B - 72B): Perfect for complex applications where maximum accuracy and depth of context are required - but only if you have the necessary hardware.
Download model: Click on the model to select it. If the download does not start automatically, look for a button or option such as ‘Download’ or ‘Retrieve model’. In some cases, you will be asked whether the model should be saved locally or used temporarily (see ‘Temporary Chat’ in the screenshot). Select the option that suits your needs.
Chatting with the model
As soon as the model is installed, you can communicate directly with it.
3. Optional: Integration into your development environment
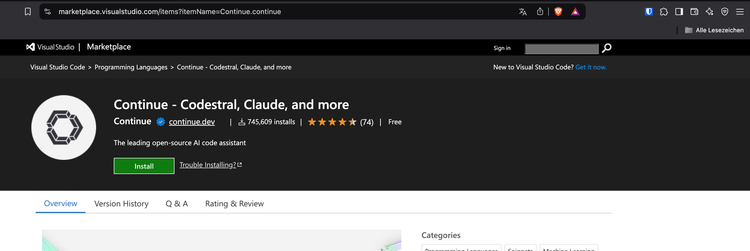
For developers, this setup offers a special advantage: With the Continue plugin, you can integrate the models into development environments such as IntelliJ or VS Code: Use Continue to extend your development environment.


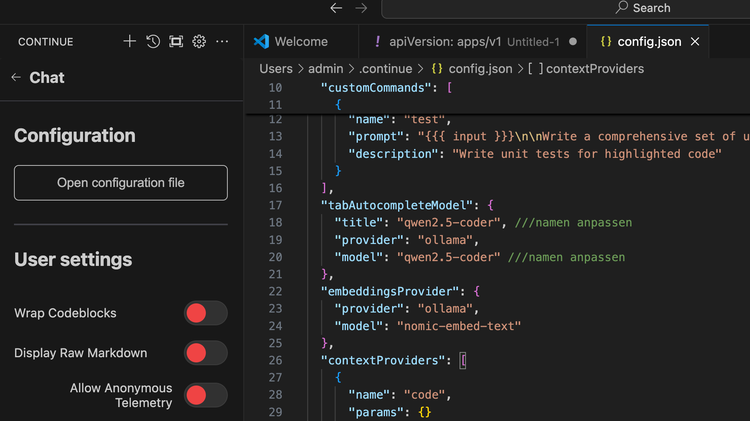
{
"models": [
{
"model": "AUTODETECT",
"title": "Ollama",
"apiBase": "http://localhost:11434",
"provider": "ollama"
}
],
"customCommands": [
{
"name": "test",
"prompt": "{
{
{ input }}}\n\nWrite a comprehensive set of unit tests for the selected code. It should setup, run tests that check for correctness including important edge cases, and teardown. Ensure that the tests are complete and sophisticated. Give the tests just as chat output, don't edit any file.",
"description": "Write unit tests for highlighted code"
}
],
"tabAutocompleteModel": {
"title": "qwen2.5-coder", ///namen anpassen
"provider": "ollama",
"model": "qwen2.5-coder" ///namen anpassen
},
"embeddingsProvider": {
"provider": "ollama",
"model": "nomic-embed-text"
},
"contextProviders": [
{
"name": "code",
"params": {}
},
{
"name": "docs",
"params": {}
},
{
"name": "diff",
"params": {}
},
{
"name": "terminal",
"params": {}
},
{
"name": "problems",
"params": {}
},
{
"name": "folder",
"params": {}
},
{
"name": "codebase",
"params": {}
}
],
"slashCommands": [
{
"name": "edit",
"description": "Edit selected code"
},
{
"name": "comment",
"description": "Write comments for the selected code"
},
{
"name": "share",
"description": "Export the current chat session to markdown"
},
{
"name": "cmd",
"description": "Generate a shell command"
},
{
"name": "commit",
"description": "Generate a git commit message"
}
],
"experimental": {
"quickActions": [
{
"title": "Detailed explanation",
"prompt": "Explain the following code in detail, including all methods and properties.",
"sendToChat": true
}
]
}
}
!!! Please note!!!
The model name may have to be adapted, positions are commented - it is set to qwen-coder2.5
Finally, the config must be saved.
Conclusion: Why eggs loves this setup
A local AI setup like this is not just a technical decision for us at eggs, but a real game changer. We wanted an AI infrastructure that was not only powerful, but also data protection-compliant and cost-efficient - and that's exactly what we achieved with OpenWebUI and Ollama.
What particularly impressed us: We are no longer dependent on cloud providers. No hidden costs, no sudden changes to terms and conditions, no data protection risks. Instead, everything runs on our own infrastructure, quickly, reliably and under our full control. And the best thing? The performance is amazing. No waiting for external servers, no lag - simply working directly with AI, just as it should be.
But it's not just about us. This setup also helps us to better support our customers. Projects run more efficiently, sensitive data remains protected and we can develop customised AI solutions without having to make compromises.
For anyone involved in AI, this is the next logical step. Once you've experienced the fluidity and flexibility of running your own AI environment, you won't want to go back to expensive, opaque cloud solutions. So, if you're thinking about taking your AI strategy to the next level: Try it out. We did - and it was worth it!